Headquartered in Houston, Texas, Dimensional Engineering was born on the back of a dream, a major contract from an aircraft manufacturer, and a process developed specifically to fulfill that project. Dimensional Engineering has steadily grown to become a full-service team of consulting and field metrologists, focused on the application of 3D metrology services. With aerospace and automotive applications firmly established, Dimensional Engineering has expanded into the fields of gas and oil, while positioning itself to tackle marine applications as well.
Challenge
Equipment at gas and oil facilities present a unique challenge in that many system components involve precision-machined interior features, but a rough casting on the outer surfaces. In addition, the cast pieces present numerous compound curves and varying wall thicknesses. This means that many components in an oil and gas system are an inspection nightmare, and traditional tools are often incapable of providing the quality dimensional data necessary for repairs and reverse engineering.
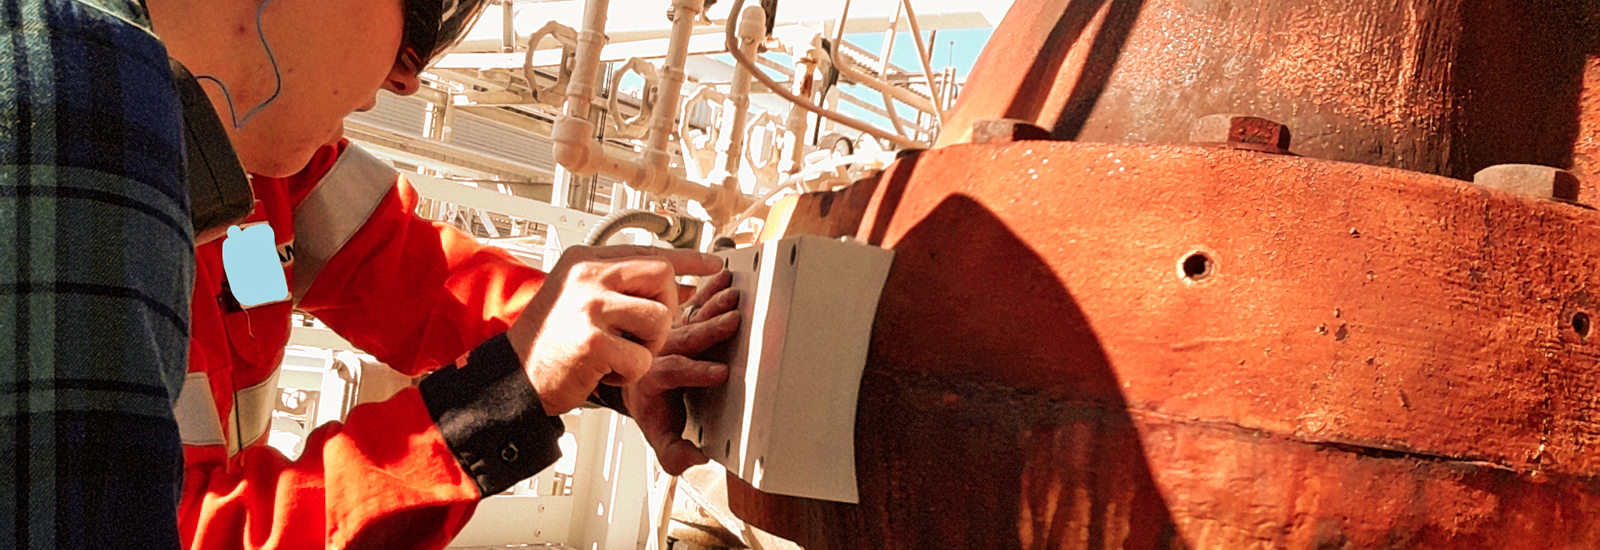
This issue was brought into vivid reality when the Dimensional Engineering team was challenged with a leak repair project for a major refinery. Two companies and five attempts failed to create a patch for a leaking split flange on a compressor.

“The system was leaking at one of the bolts clamping a flange,” explains William Bonner, managing director and founder of Dimensional Engineering. “The spot where a patch would adhere was not a machined surface at all. It was very irregular; they could not take hand measurements. Our client already had two different companies try to accomplish it that way, without success. When they contacted us, they had spent hundreds of thousands of dollars just gathering and collating measurement data but were still unable to seal the leak.”

Rather than shut down the entire unit—losing additional hundreds of thousands of dollars—to machine a surface conducive to clamping, the refinery company chose to collaborate with Dimensional Engineering to discover an acceptable alternative.
Solution

“We went in with our FARO QuantumS ScanArm and collected all the data along the split line of the flange,” says Bonner. “By the next afternoon, we had reverse engineered the flange and designed a clamp.”
The QuantumSScanarm, outfitted with a FAROBlu™ Laser Line Probe HD high-definition camera, uses the most advanced complementary metal-oxide semiconductor (CMOS) technology to deliver fast frame rate (the number of times per second that the camera gathers new data on the part being scanned) of up to 300 frames per second.

The reverse engineering model was prepared with STL data and CAD geometry.

“We call it a hybrid model,” explains Bonner. “This process saves time because we don’t have to actually surface all of the undulating surfaces of the of the split line. We just pulled the STL off of it and then used Polyworks and SolidWorks to create our model around that portion of the affected area.”

The model data were sent to a 3D printing facility, where a prototype of the clamp was created.

“We went back to the client’s facility and put the model onto the split line, and it fit like a puzzle piece!” says Bonner. “When the final stainless-steel clamp was machined, we scanned it and overlaid that data with our CAD geometry, completing a final inspection in that way.”

Outcome
“Our client approved the proposal, and three or four days later we installed the final plug onto the split line, solving the leak problem,” says Bonner. “I would say the whole process took probably three to four days from start to finish.”
Dimensional Engineering’s innovative process saved weeks of repair time and tens of thousands of dollars for its client. Not to mention being able to avoid compressor downtime. The QuantumS ScanArm was mission-critical for this kind of project.
“Something like this could not have been accomplished 20 years ago,” explains Bonner. “Now, 3D scanning and software packages can collect and interpolate the different types of data. We can now create hybrid models based on STL and Solid modeling that can be CNC-milled."
The personnel at the refinery were equally impressed with the capabilities of the QuantumS.
“It was a very successful project and something that our client had never seen before,” says Bonner. “Their eyes were opened to the whole world of 3D scanning. I believe they actually bought their own ScanArm after that!”
Bonner also sees several uses of 3D scanning in other industries that could be equally successfully applied in petrochemical facilities.
“Alignment of different components, such as rotating equipment that has to be perfectly aligned, has a tremendous effect on downtime and lifespan of the equipment,” says Bonner. “Most refineries also have quite a bit of legacy equipment. Obviously, there’s no digital measurement data available for 40-year-old systems. With our FARO equipment, we can go in and reverse engineer parts, and then work with the engineers who know the equipment and how to put dimensions and tolerances on it. With the kind of data we can provide for them, they can make a master model and rebuild these older pieces of equipment as needed.”
In summary, when Bonner was asked to rate the QuantumS on various criteria, this was his assessment:
|
Criteria |
Rating |
Notable Points |
|
Accuracy and repeatability |
Game changer |
Ease of calibration |
|
Speed of measurement |
Game changer |
Speed is achieved, in part, due to accuracy and reliability, and less need to audit data. |
|
Ease of use |
Game changer |
New users can be brought up to speed on equipment very quickly. |
|
Portability |
Game changer |
Dimensional Engineering ships the QuantumS all over the country. It travels well, and failures are almost nonexistent. |
Add new comment