How can the KTM racing team inspect motorbike parts of various shapes, sizes, and complexity, and account for minuscule material variations and deviations between laps? The team trades microns for milliseconds. Here is how KTM Motorsports used 3D scanning solutions to perform quality control procedures and improve their times on the track.

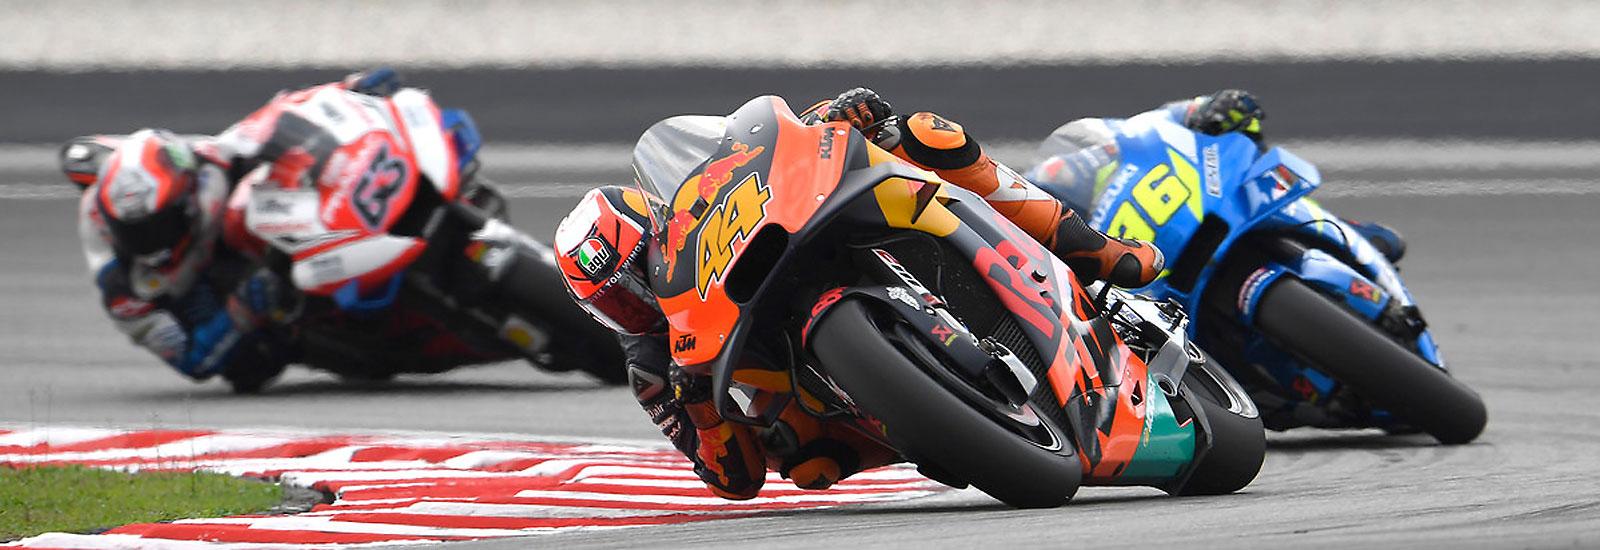
Pol Espargaró from Red Bull KTM MotoGP
KTM AG is Europe’s leading high-performance street and off-road sport motorcycle manufacturer based in Mattighofen, Austria. Over the years, KTM has built a reputation as a fierce competitor on racetracks around the world. With an established presence in the off-road segments, KTM has progressed through the world of street motorcycles and recently made a foray into sport bike territory.
Incorporating race-proven technology into KTM’s products allows KTM riders to experience for themselves the thrilling performance that defines the KTM brand. While KTM Motorsports—the company’s racing subsidiary—had all sorts of tools and instruments of its own to design, produce, and inspect parts, it decided to add new hardware and software to its toolbox, which was already well stocked for quality control. Little did it know, these solutions would pave the way for new applications: scanning parts and assemblies on the spot to collect data on variations and deviations from CAD designs, comparing test motorbikes with new ones for wear analysis, and inspecting parts from a quality control standpoint.
The ultimate ride
Once made aware of the capabilities of 3D scanners and inspection software, what did the KTM racing team want to accomplish? Given the remarkably accurate results of the tools used, it wanted to give high-accuracy inspection a try.
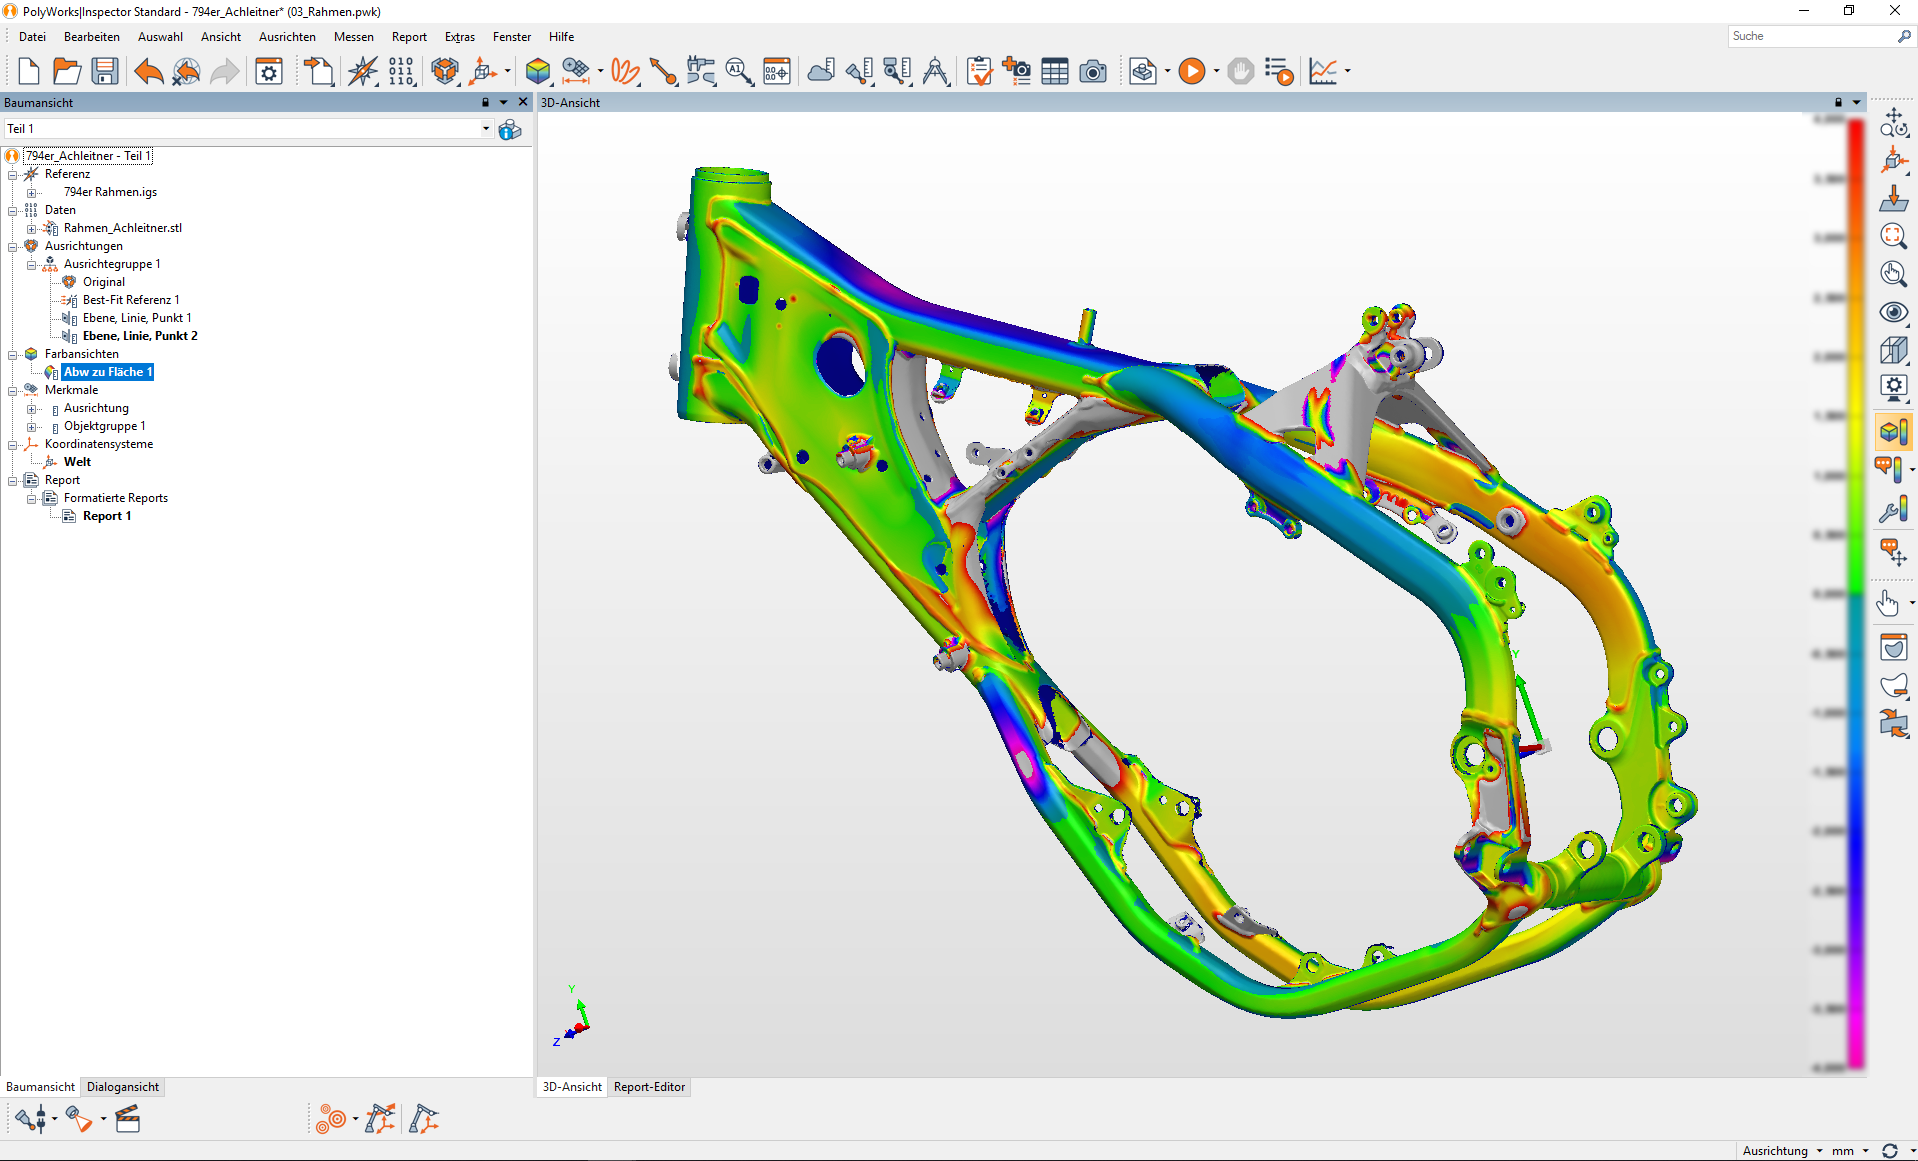
Among other instruments used for inspection, a joint solution comprising Creaform’s MetraSCAN 3D scanner as well as InnovMetric’s PolyWorks Inspector allowed the KTM team to perform quality control and dimensional inspection operations such as wear and failure analyses (e.g., swing arm). In the long run, the solution would bring the team closer to something it strives for: pure optimization to the bare essentials. As the company puts it: “No wasted space or weight—just everything you need for the ultimate ride.” Given the inherent credibility of Creaform’s 3D scanner and its accuracy ranging 30 microns, the team was willing to put its entire trust in the device utilized.
Another feature that caught the attention of the KTM team was the ability of the 3D scanner to acquire large amounts of data in a short time, without having to prepare the surface or inspect parts prior to the scan.
Very precise indeed, and not necessarily focused solely on discrete points, the 3D scanner allowed for across-the-board measurement of motorbike components, regardless of size, geometry, and surface finish.

Quality controller Christian Schwarz performs 3D scanning of the motorcycle frame

InnovMetric’s PolyWorks Inspector inspection analysis. Click image for larger view.
Portable, versatile
Given their ready-to-race mentality, KTM Motorsports focuses on performance and speed in all circumstances, even in the lab and at the production plant. One of the extra perks of the Creaform/InnovMetric joint solution is its versatility. Not only can it be used for multiple applications (e.g., first-part inspection, supplier compliance, reverse engineering, 3D modeling), it can also be used in various—and sometimes unexpected—environments. In the present case, it means bringing the scanning gear to the test racetrack and taking reliable, high-quality, precise measurements to make decisions in a timely manner. Of course, the team knew about the changes to the bike materials and components in-between laps on the test racetrack. But it could now move forward and perform analyses of individual components from the chassis, body, and suspension to reveal minuscule variations and deviations from CAD designs.
Setting up the equipment for a scan-ready configuration takes virtually no time. Plus, users can scan shiny surfaces, a benefit from real-time meshing and dynamic referencing—imperatives for data acquisition at the workshop, in the quality control area, or at the racetrack.
‘We can adjust components we did not think of adjusting in the first place, and we become aware of new areas for improvement.’
—Sebastian Witt, head of quality management, KTM Motorsports
In the context of wear analysis, engineers can use the data acquired in-between laps to compare the scan data of the test motorbike with that of a bike straight out of the crate (scan-to-scan comparison), and thus reveal the slightest changes, discuss root causes, draw conclusions on the spot, and make the necessary adjustments.
The fast data acquisition system put in place by KTM thus aligns with the team’s performance and speed mindset, and accounts for huge time savings—up to 50 percent.
OK. But... who’s driving?
So far, we’ve roughly covered the way 3D scanning can apply to the mechanics and physical structure of the motorbike. But what about the driver’s stance and ergonomics? It takes a racer, a pilot, to ride the bike, and the more focused he/she is on the task at hand, the more he/she can negotiate sweeping corners and beat the clock! To stay focused, the driver must be comfortable yet not slouchy, steady yet not tense. In the present case, Creaform’s Go!SCAN 3D scanner helped in that matter, for the driver sat on the motorbike while a staff member performed the scan of both the pilot and the vehicle. The process would traditionally be used for design/redesign and ergonomic purposes: Each driver can be scanned for distance from shoulder to handles, pelvis and torso angles, distance from eyes to instrument cluster, etc. The acquired data are then used for further product development at KTM. 3D scanning thus facilitates knowledge transfer and bridges the decision makers at the design stage with the assembly team in the workshop.
In the end, always ready to race, KTM Motorsports uses metrology and 3D scanning technologies as means for thriving in all its areas of work. KTM sums it up like this: “Without exceptional performance, victory is just not an option.” We would add that without precision, outstanding performance would maybe not be, either.
Add new comment