All Features
Automated Precision Inc.
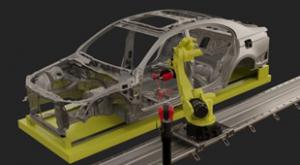
As industries around the world work to make their process and products not only automated but also autonomous, there has been an explosion in the use of detection and ranging systems during the last 20 years. Detection and ranging systems date back to radar systems that were developed during World…

Etienne Nichols
Amedical device company is expected to deliver innovative, life-changing devices while ensuring compliance and achieving true quality. This task bears loads of responsibility—all of which must be kept and documented within your quality management system (QMS).
A QMS contains everything that…
National Physical Laboratory
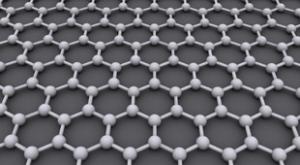
Graphene and related 2D materials have the potential to disrupt technologies such as energy storage devices, composites, and electronics through their exceptional material properties. Depending on the material, these can include properties such as high electrical conductivity, high mechanical…

NIST
A bullet piercing the protective armor of a first responder, a jellyfish stinging a swimmer, micrometeorites striking a satellite—high-speed projectiles that puncture materials show up in many forms. Researchers constantly aim to identify new materials that can better resist these high-speed…

NIST
Researchers at the National Institute of Standards and Technology (NIST) have developed chip-scale devices for simultaneously manipulating the color, focus, direction of travel, and polarization of multiple beams of laser light.
The ability to tailor those properties using a single chip is…

Automated Precision Inc.
Siemens-Mobility’s factory in Graz, Austria, is a development center and manufacturing plant for high-tech bogies, an important component of the global rail vehicle industry. Whether bogies for streetcars, locomotives, passenger coaches, or high-speed multiple units, the Siemens Mobility World…

Ian Wright
‘I have a cellphone that doesn’t behave like a phone: It behaves like a computer that makes calls. Computers are becoming an integral part of daily life. And if people don’t start designing them to be more user-friendly, then an even larger part of the population is going to be left out of even…
InnovMetric
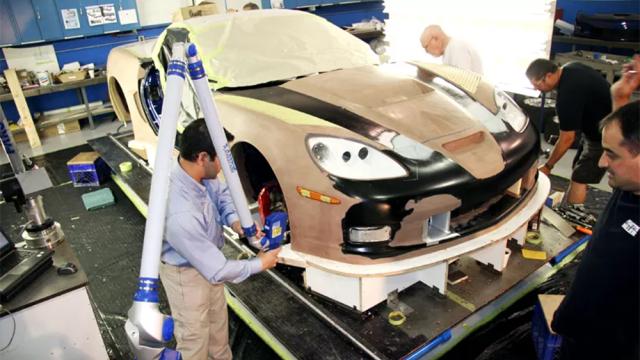
Pratt Miller was founded in 1989 by Gary Pratt and Jim Miller. Their aim was to create a world-class engineering company that could take automotive-based programs all the way from concept to reality. Since then, Pratt Miller has become a respected industry leader, providing automotive and…

Silke von Gemmingen
Rigid endoscopes are used in medical diagnostics and therapy to examine body cavities and hollow organs, and to perform minimally invasive procedures. To avoid risks for patients and medical staff, it’s essential that the devices function perfectly. Reliable quality testing is intended above all to…
Melissa Phillips
The levels of contaminants in our food supply are, generally, decreasing. That’s the good news.
But we still need to measure those contaminants and make sure our food is safe. And measuring tiny things (and big things) is what we do best here at NIST.
In our food safety program, we’re studying all…

National Physical Laboratory
Graphene and related 2D materials (GR2Ms) could help reduce greenhouse gas emissions from the production of advanced materials. Using GR2M nanoplatelets in applications, such as reinforcing concrete or improving battery performance, will require a dramatic increase in GR2M production. As production…

NIST
Researchers at the National Institute of Standards and Technology (NIST) and their colleagues have developed a novel tabletop device that takes three-dimensional X-ray (CT) images of integrated circuits. The highly detailed scans produced by the prototype device inspect the billions of electrical…
Aaron Heinrich, MetalForming
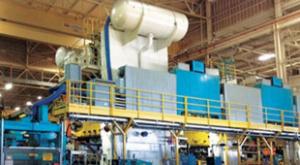
In metal stamping, especially in critical automotive applications, sometimes it’s not enough simply to close the control loop. Traditional control algorithms rely on eliminating an error between what is happening—as indicated by feedback from system sensors—and what should happen. High-speed motion…

Harish Jose
I’m looking at a topic in statistics. I’ve had a lot of feedback on one of my earlier posts on OC curves and how one can use them to generate a reliability/confidence statement based on sample size (n), and rejects (c). I provided an Excel spreadsheet that calculates the reliability/confidence…
Scott Knoche
A very popular version of the coordinate measuring machine (CMM) is the portable CMM “arm,” not to be confused with the “robotic arm” or simply, robot—as it is called in the factory automation world. Robots are motorized, machine-driven devices that have tube segments connected by articulating…

Adam Zewe
Mass spectrometers are extremely precise chemical analyzers that have many applications, from evaluating the safety of drinking water to detecting toxins in a patient’s blood. But building an inexpensive, portable mass spectrometer that could be deployed in remote locations remains a challenge,…
Peter Büscher
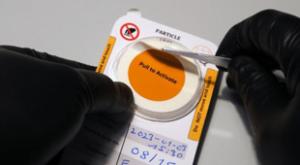
Over the past few months, I’ve covered the common sampling techniques used in technical cleanliness inspections. So far, I’ve taken a closer look at the washing method, direct liquid filtration, and tape lift sampling. Now I’ll discuss the particle trap method.
What is the particle trap method?…

Silke von Gemmingen
Preventive conservation plays an important role in preserving art and cultural assets. To preserve their condition for as long as possible, it’s essential to slow down and evaluate aging processes and other factors that alter materials. To do this, it’s necessary to gain a holistic understanding of…

National Physical Laboratory
Through their exceptional material properties, graphene and related 2D materials have the potential to disrupt technologies such as energy-storage devices, composites, and electronics. Depending on the material, these properties can include high electrical conductivity, high mechanical strength,…

Steve Oliver
Alignment with Laser (AW Laser), a South African company, specializes in alignment. Using API laser trackers to align machinery and equipment in a range of industries, AW Laser provides measurement services, especially for shipyards, aluminum plants, steel mills, paper manufacturers, and sugar…

Oak Ridge National Laboratory
Researchers at the U.S. Department of Energy’s (DOE) Oak Ridge National Laboratory (ORNL) have developed a machine learning-inspired software package that provides end-to-end image analysis of electron and scanning probe microscopy images.
Known as AtomAI, the package applies deep learning to…
Adam Zewe
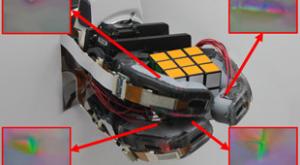
Inspired by the human finger, MIT researchers have developed a robotic hand that uses high-resolution touch sensing to accurately identify an object after grasping it just one time.
Many robotic hands pack all their powerful sensors into the fingertips, so an object must be in full contact with…
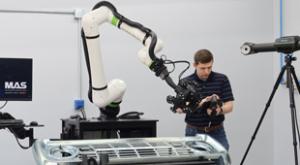
Manufacturing Automation Systems LLC
In today’s global manufacturing markets, the need for accurate measurement has moved well beyond micrometers, gauges, and calipers. That’s why manufacturers are replacing manual metrology tools with fully automated systems. But what is automated metrology?
Automated metrology, sometimes called 3D…
Bryan Christiansen
People often use the terms maintenance and reliability interchangeably. However, they are two separate concepts. Although there is some overlap, their scope and focus are quite different.
Understanding those differences, as well as how each concept affects the other, is a necessary step for…

Fred Miller
Researchers in Arkansas and two other states will be using a $5 million grant to increase use of artificial intelligence and robotics in chicken processing to reduce waste in deboning and detect pathogens.
The grant from the U.S. Department of Agriculture’s (USDA) National Institute of Food and…